Downloadable
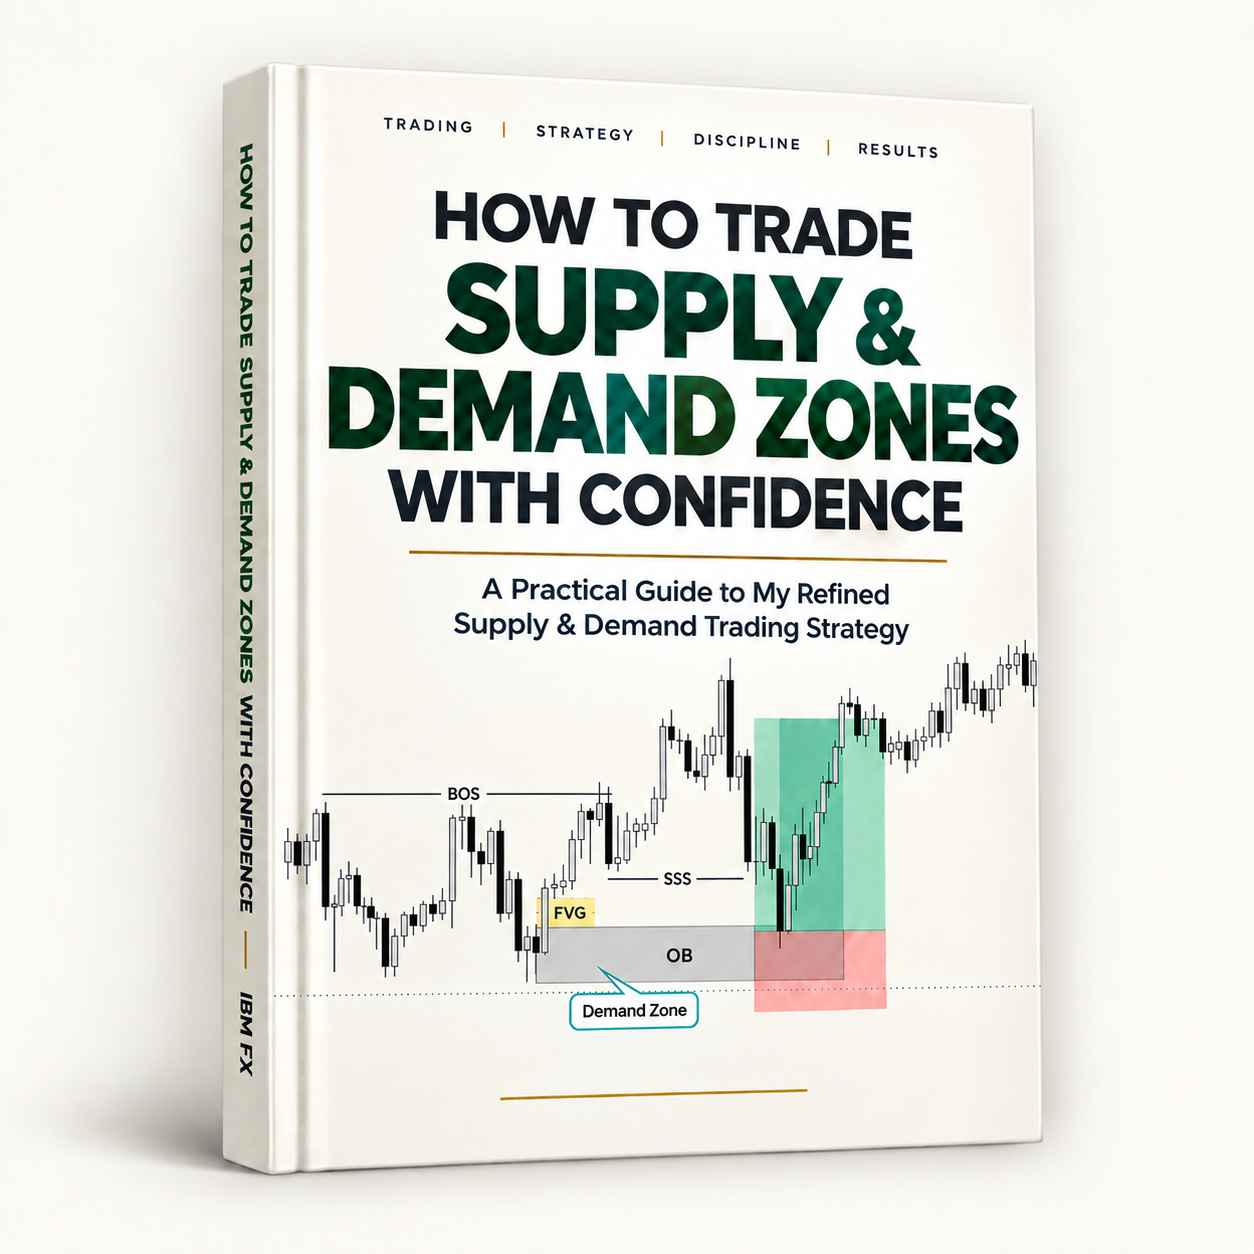
HOW TO TRADE SUPPLY & DEMAND ZONES WITH CONFIDENCE

1
$8.00$16
HOW TO TRADE SUPPLY & DEMAND ZONES WITH CONFIDENCE
This is a Practical Guide to My Refined Supply & Demand Trading Strategy
I've spent years studying price action, refining one core question: why do certain zones on a chart cause price to reverse or explode, over and over again?
After hundreds of hours of backtesting and trading supply and demand zones across multiple pairs and timeframes, I put everything into one refined, rules-based framework — the exact process I use to identify high-probability zones before price ever gets there.
This isn't recycled theory. It's a system built from real screen time, real chart review, and real refinement — simplified so you can apply it without the guesswork.
INSIDE THIS GUIDE, YOU'LL LEARN:
✓ How Supply & Demand Zones form
✓ How I identify relevant Supply & Demand Zones
✓ How I mark Supply & Demand Zones on a chart
✓ How I evaluate the strength and relevance of a zone
✓ How I analyze price when it returns to a zone
✓ How I combine Supply & Demand with market structure
✓ How I approach entries and confirmations
✓ How I determine invalidation levels
✓ How I approach risk management
✓ Common mistakes to avoid when marking Supply & Demand Zones
✓ How to organize your chart analysis around a structured process
No fluff. No 300-page filler. Just the exact framework, laid out in a clear, practical guide you can start applying today.
Bonuses
When you get the guide today, you'll also receive:
🎁 Bonus 1: How to Build a Structured Approach to Prop Firm Challenges - (₦10,000 )
🎁 Bonus 3: Supply & Demand Zone Quick-Reference Cheat Sheet –(₦5,000)
🎁 Bonus 4: Trade Journal Template to track and refine your own zones – (₦5,000)
🎁 Bonus 5: Trading Plan Template – (₦5,000)
(Total bonus value: ₦25,000 — yours is free today)
This price won't be around forever. As more of the bonus content is finalized, this offer will be repackaged at a higher price point.
Lock in today's price before it changes.
To keep this guide focused and high-quality (not a mass-market rehash), copies at this launch price are limited to the first 20 readers.
Once they're gone, the offer closes — no exceptions.